Workflow · Photoshop
Your Photoshop workflow stays the same. Your curve doesn’t.
Calibration Flow generates your print correction and exports it in Adobe’s standard .acv format. You load it into Photoshop’s Curves panel in two clicks. Non-destructive adjustment layer, editable curve, file under one kilobyte.
Article reviewed by Tristan Sidem (Calibration Flow founder) + Raphaël Lebas de Lacour (Vision Picturale co-founder).
Drawing the curve by hand is no longer viable
You measure a cyanotype print with a densitometer or by eye, you write the values on a sheet, you open Photoshop, you push twelve points in the Curves panel while glancing at your draft. Three prints later you do it all again, except you have forgotten the exact values and the result drifts.
This manual work is not reproducible. Your curves live in scattered PSDs, never named properly, never reusable from one image to the next. Calibration Flow replaces the spreadsheet and the manual entry with a versionable .acv file that Photoshop loads natively.
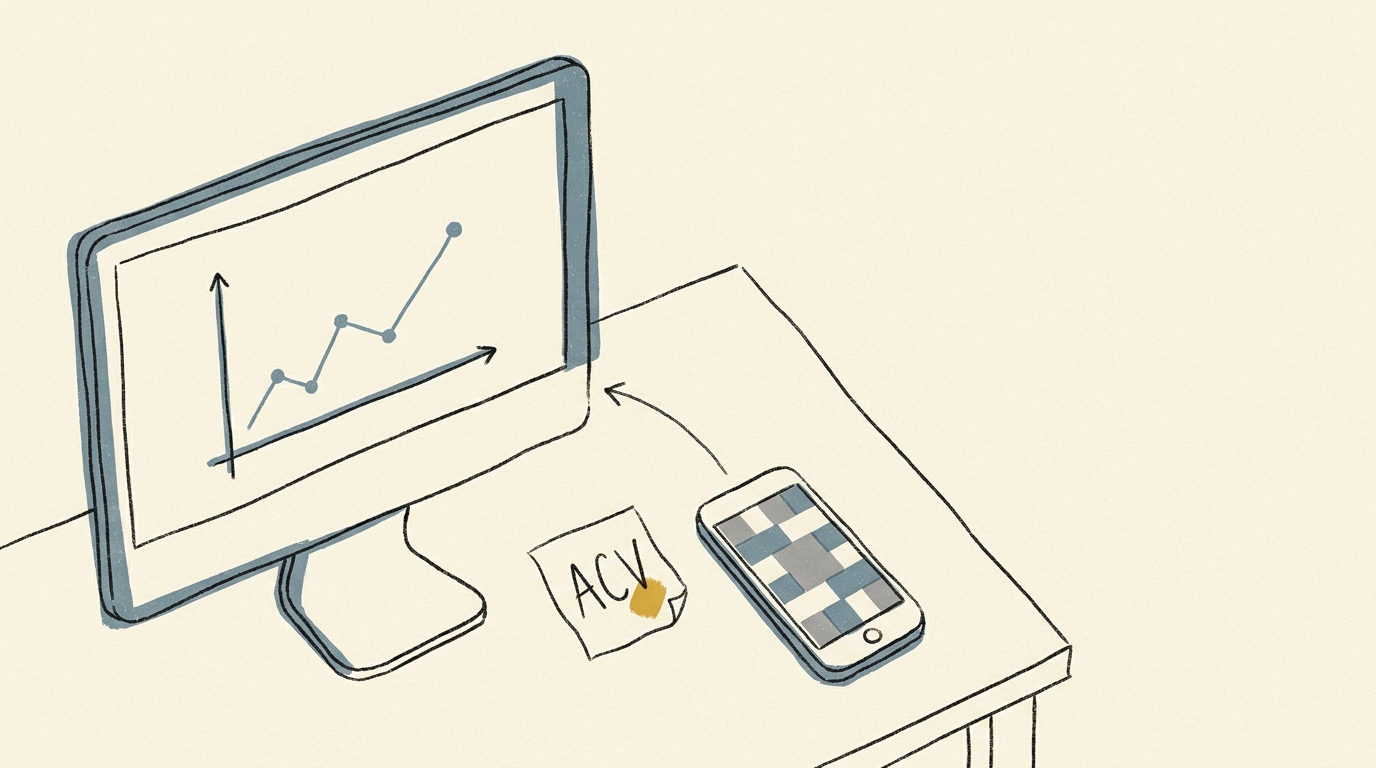
The file chain
Calibration Flow → .acv file → Photoshop Curves panel
Three steps, two clicks on the Photoshop side. The .acv format has been read natively by Photoshop since its earliest versions (1991), with CS6 (2012) the recommended floor — no plugin, no conversion, no external dependency.
- 1
Generate your curve in Calibration Flow
Print the 25-patch test chart, expose, scan or photograph it. Calibration Flow reads the L* CIELAB values and computes the correction curve via linear interpolation + robust LOWESS + monotonic PCHIP.
- 2
Export the .acv file
Click Export .acv curve. Calibration Flow generates a compact binary file (under one kilobyte, up to 16 points) that you save with a meaningful name — typically process-paper-version.acv.
- 3
Load the curve in Photoshop
Open your image, create a Curves adjustment layer (Layer → New Adjustment Layer → Curves, or Cmd+M), click the panel menu icon, choose Load Preset, select your .acv. The correction applies instantly.
Ajuste la courbe en direct
Calibration Flow corrige n'importe quelle réponse non-linéaire avec trois sliders. Pas de point à dessiner à la souris, pas de Bézier à manipuler. Joue avec les valeurs ci-dessous et vois immédiatement l'effet sur la courbe et sur le rendu tonal your process.
Entrée 0–255 ↔ Sortie 0–255
Seuil d'entrée minimum. Tout ce qui est en dessous devient noir pur.
Seuil d'entrée maximum. Tout ce qui est au-dessus devient blanc pur.
Courbure des tons moyens. 1,00 = linéaire, < 1 = mid-tones sombres, > 1 = mid-tones clairs.
Dégradé source (avant correction)
Dégradé corrigé (après application de la courbe)
Cette démo applique une formule simple (points noir/blanc + exposant gamma) pour l'illustration. L'app utilise en plus un lissage par LOWESS robuste + PCHIP monotone qui arrondit les transitions sans créer d'artefacts. Tu exportes ensuite un fichier .acv chargeable dans Photoshop ou Affinity Photo en deux clics.
What Photoshop does better than the rest
The .acv format was created by Adobe in 1991, specifically for the Photoshop Curves panel. Three decades later it remains the industry-standard format for carrying a correction curve from one tool to another. Photoshop reads it natively — no plugin, no indirect import-export, no precision loss on the points.
The Curves adjustment layer is the centrepiece. It preserves your source image, accepts an .acv file via the panel menu icon, and stays editable point by point if you want to refine afterwards. You can duplicate it, mask it locally, sync it across several documents via a smart object. For a multi-layer gum bichromate or carbon workflow, it is the only clean way to hold the chain.
Precision is the same in 8-bit and 16-bit — Photoshop interpolates the 16 points of the .acv across the full tonal space, that is 256 levels or 65,536 levels per channel depending on your bit depth. For a platinum/palladium print with a wide tonal range (Dmax 1.8 on Hahnemühle Platinum Rag), you work in 16-bit and gain finesse in the low tones.
Before Calibration Flow / after
Before
Densitometer, paper sheet, manual entry of twelve points in Photoshop, unversioned PSD drafts. Three prints later, the curve has drifted and you no longer know why.
After
25-patch test chart printed, scan, automatic curve generation, .acv export named cyanotype-arches-may2026.acv. You load it into any PSD in two clicks. Reproducible, versionable, shareable.
Access
The web version is free with sign-up, no credit card, full workflow. You generate your first .acv in under fifteen minutes once the test chart is printed and exposed.
Web
Free with account
No credit card. Full workflow, unlimited .acv export.
iOS
€9.90/month
Optimised iPhone capture. Cloud sync included.
Luminograph
1 year of Pro included
Shipped with a Luminograph purchase from Vision Picturale. Unlocks custom test charts + Color Venn.
Photoshop questions
Five practitioner questions
- Yes for Photoshop CS6 and every Creative Cloud version, whether current subscription or older perpetual licences. The .acv format has existed since 1991 and the Curves panel has always been able to load it via the Load Preset menu. Photoshop Elements, however, does not expose parametric curves the same way: you can apply a curve there but not load an .acv directly. If you work in Elements, look at the Affinity Photo workflow instead, or retouch through standard Photoshop.
- Adjustment layer every time. Applying directly (Image → Adjustments → Curves) edits the pixels destructively: if you change your mind, you lose the original. The Curves adjustment layer keeps your image intact, lets you disable or edit the correction, and you can swap its .acv later if you recalibrate. On a multi-layer file prepared for gum bichromate or carbon, this is non-negotiable.
- No. You replace the .acv loaded in your Curves adjustment layer — open the layer, load the new preset over the old one, and the whole document updates. That is the main reason we insist on the adjustment layer: the clean separation between the image and its correction lets you replay old prints with a recent calibration without touching the master.
- Up to 16 points — the natural limit of .acv version 1. Calibration Flow usually places between 9 and 14 points depending on how complex a curve your process needs. On a standard cyanotype curve you will see around 12. The final file is under one kilobyte, a compact binary holding only the input/output coordinates of the points.
- Yes. Photoshop’s Curves adjustment layer works at full precision on 16-bit documents as well as 8-bit. You load the same .acv, Photoshop interpolates between the points with its own routine and applies the correction across the full tonal space (65,536 levels per channel in 16-bit). For a platinum/palladium print with a wide range, this is the option to favour.
Your curve in Photoshop, in two clicks
Generate your first curve with the free web version. You walk away with a versionable .acv file that Photoshop loads natively.