
Workflow · GIMP
Open alt-process, without Adobe — three honest workarounds.
GIMP does not read Adobe’s .acv format directly. Calibration Flow exports to .acv, a proprietary format GIMP has never supported. Three workarounds exist — we document them without hiding their limits.
Article reviewed by Tristan Sidem (Calibration Flow founder) + Raphaël Lebas de Lacour (Vision Picturale co-founder).
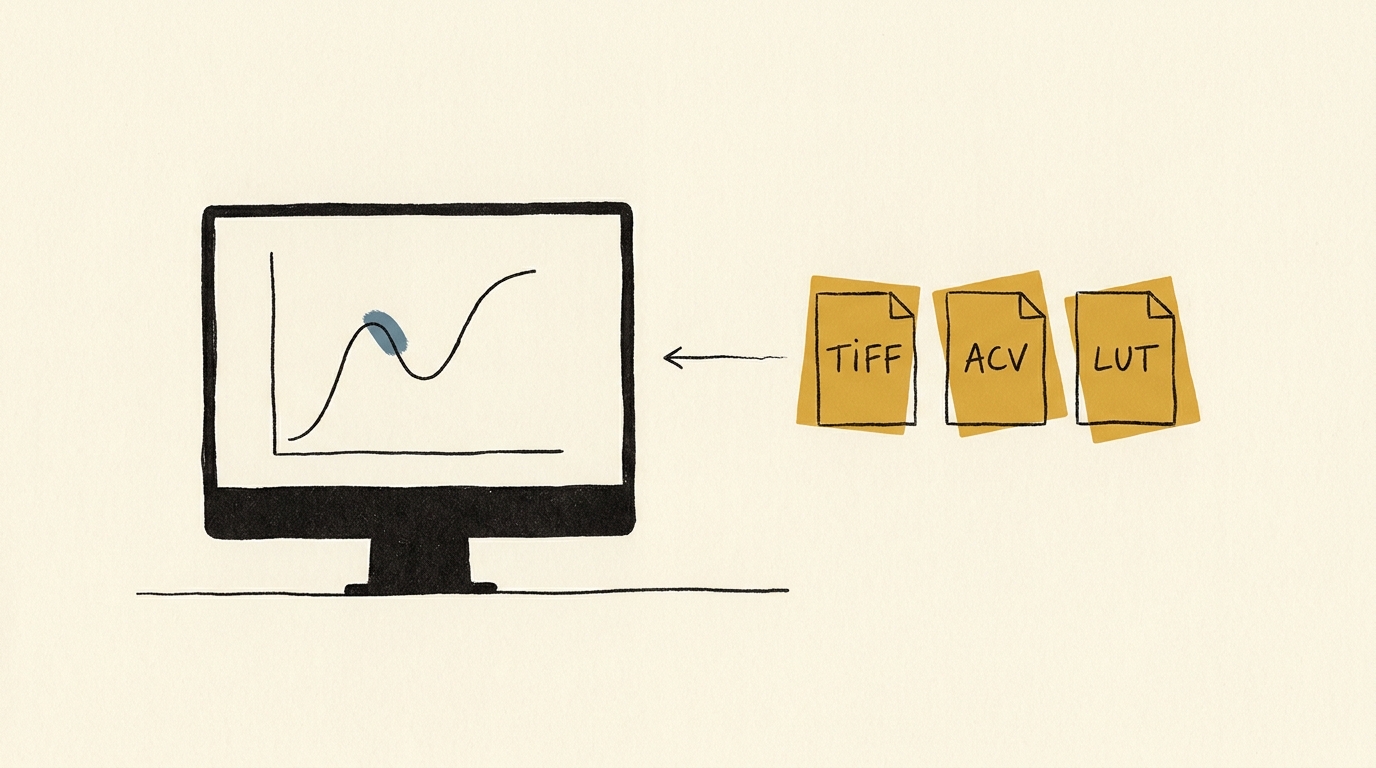
The underlying problem with GIMP and .acv
The .acv is a proprietary Adobe format created in 1991. Its binary structure is publicly documented, but the GIMP team has never prioritised native support. As of May 2026, after more than a decade of open tickets on GitLab GIMP, the situation has not moved.
If you practise alt-process with GIMP out of ethical choice (open-source) or budget constraint, you cannot load the Calibration Flow curve directly. You must either go through another application that reads it, or recreate it manually. Both approaches work, neither is as clean as the direct Photoshop workflow.
Three workarounds
Calibration Flow → .acv file → GIMP, three ways
Workaround 1 · Most precise
Go through Photoshop or Affinity Photo
You export your image from GIMP as 16-bit TIFF, open it in Affinity Photo (free since October 2025 under Canva) or Photoshop, load your .acv via a Curves adjustment layer, re-export the corrected TIFF, then re-import it into GIMP as a new layer.
Precision: maximal (full 16 points). Effort: moderate, ~3 minutes per image after setup. Limit: requires installing a second application.
Workaround 2 · At your own risk
.acv-to-GIMP converter (a lead)
Several amateur Python or Script-Fu scripts claim to turn an .acv into a GIMP-compatible preset. None is officially maintained in 2026. We mention the option for completeness, without guaranteeing the reliability of any given script.
Precision: variable per script (validate it yourself against the manual recreation). Effort: low once installed. Limit: no reference script to recommend, fragmented ecosystem.
Workaround 3 · Most free
Recreate the curve by hand in GIMP
You read the coordinates of the 9 to 14 points of your curve in Calibration Flow (the app shows the input/output positions of each point). You open Colors → Curves in GIMP and place the points one by one by clicking on the graph. Count ten to fifteen minutes the first time, three to five minutes once dialled in.
Precision: good, enough for cyanotype/gum/Van Dyke. Effort: high on the first curve, modest after. Limit: slight precision loss on fine inflections (negligible on the final print result).
GIMP in alt-process practice
GIMP 2.10 exposes a complete Curves tool (Colors → Curves): spline smoothing, point-by-point entry, separate per-channel RGB curves. For a single-pass cyanotype or Van Dyke workflow, it is enough. The precision of hand-placed points stays below the variation threshold you will get anyway from chemistry and paper drying.
Filter layers (since GIMP 2.10): you can apply Colors → Curves as a non-destructive filter on a layer, which gets close to a Photoshop adjustment layer. The ergonomics are less polished but the result is equivalent: you edit the parameters afterwards, disable the filter, and the source image stays intact.
16-bit: GIMP 2.10 works at full high-bit precision. You can import a 16-bit TIFF, apply your curve (manually or via an intermediate Affinity TIFF), and export without degradation. For a platinum/palladium print, this is the bit depth to use.
Without calibration / with, in GIMP
Before
You push points in Colors → Curves by guesswork, glancing at your print draft. No numerical reference, no written trace. The next print, you start from scratch.
After
You generate your curve in Calibration Flow (free on Web with sign-up), you enter it in GIMP with the numerical coordinates. You can archive it in a versioned text file, re-share it, replay it six months later.
Access
The web version of Calibration Flow is free with sign-up, no credit card. GIMP is free and open by nature. You get a complete workflow for zero euros, with the extra step of recreating the curve by hand or going through an intermediate TIFF.
Web
Free with account
No credit card. Full workflow up to the digital negative.
iOS
€9.90/month
Optimised iPhone capture. Cloud sync included.
Luminograph
1 year of Pro included
Shipped with a Luminograph purchase from Vision Picturale. Includes 1 year of Pro Mode.
GIMP questions
Five practitioner questions
- No official roadmap promises it as of May 2026. The .acv format is proprietary to Adobe, and even though its binary structure is publicly documented, the GIMP team has never prioritised its support. Tickets have existed on GitLab GIMP for over ten years with no progress. The likely route would be a third-party Python or Script-Fu plugin, but none is mature in 2026. For now, work around it via Photoshop/Affinity or recreate the curve by hand.
- Several amateur scripts and converters claim to turn an .acv into a .ggr (GIMP gradient format) or a GIMP Curves preset. None is officially maintained or tested against the current GIMP version. We cannot guarantee their reliability — on some complex curves they degrade precision, on others they crash. If you want to explore this route, back up your files and compare the result against a manual recreation to validate. It is an option, not a recommendation.
- Count ten to fifteen minutes per curve the first time, then three to five minutes once your workflow is dialled in. GIMP’s Curves tool (Colors → Curves) accepts point entry by clicking directly on the graph. You read the coordinates of the 9 to 14 points exported by Calibration Flow on the app screen (or open your .acv in a hex editor if you want the precise values) and enter them one by one. Final precision is lower than a direct .acv import but stays plenty good for cyanotype, gum and Van Dyke.
- Not in Photoshop’s strict sense. GIMP offers Filters → Generic → GEGL Graph or the non-destructive filters introduced from GIMP 2.10.34 (filter layers), but the ergonomics lag behind. For an alt-process workflow where you want to replay the curve on an old master, the cleanest workaround is to keep your source image in XCF, duplicate a layer, apply Colors → Curves destructively on the copy, and keep the original intact. Less elegant than a Photoshop adjustment layer, but functional.
- Yes, but with one extra step. If your workflow is single-pass cyanotype + gum + Van Dyke, GIMP does the job — final tonal precision holds against the chemistry and paper variations you will face anyway. If you practise multi-pass CMYK gum bichromate or four-channel carbon, the adjustment-layer limitation will cost you time. In that case, Affinity Photo (free since October 2025 under Canva) is a reasonable open-spirit compromise even if not strictly open-source.
Keep GIMP. Gain calibration.
Calibration Flow Web is free with sign-up. Generate your curve and pick your workaround — intermediate TIFF or manual recreation. The chain holds.
Try it free — no credit card