
Process · Van Dyke
Calibrate your Van Dyke — warm, toned or not.
Ferric citrate + silver nitrate, variable purple-brown tone, gold or selenium toning. Two linked `.acv` curves in one project (Pro mode): before toning, after toning. The toner shifts the curve — you need to know it.
Reviewed by Tristan Sidem + Raphaël Lebas de Lacour
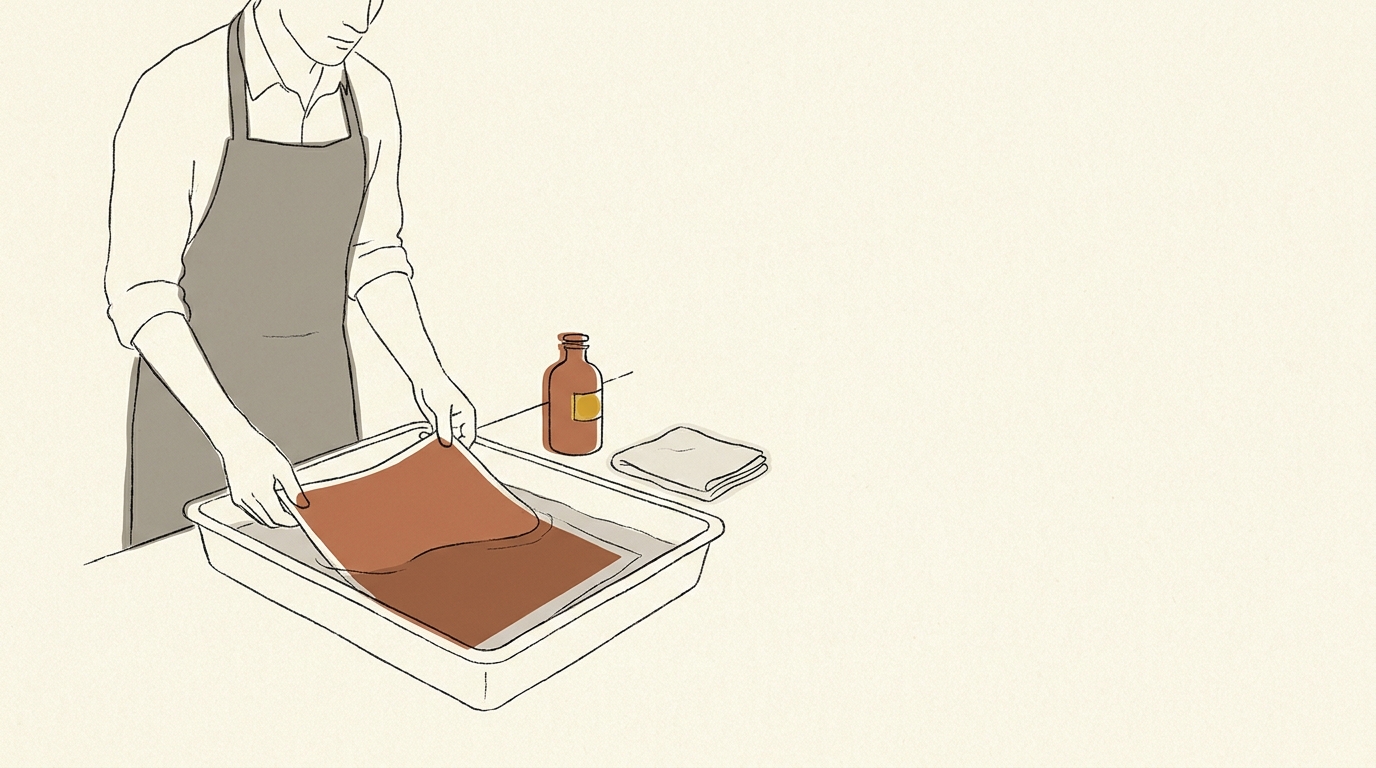
Le problème
Sound familiar?
- 01
Tone drifting between series and toning
The untoned print is warmer than the gold-toned one — without a dedicated curve you lose the predictability of the final rendering.
- 02
Charcoal shadows on alkaline paper
Ferric citrate destabilises in the carbonate reserve of buffered paper. The print loses 0.2 to 0.3 in Dmax in the wash.
- 03
Highlights turning yellow
Poorly calibrated fixing leaves unfixed silver traces that yellow within weeks. Software calibration does not fix this chemical defect — it reveals that it exists.
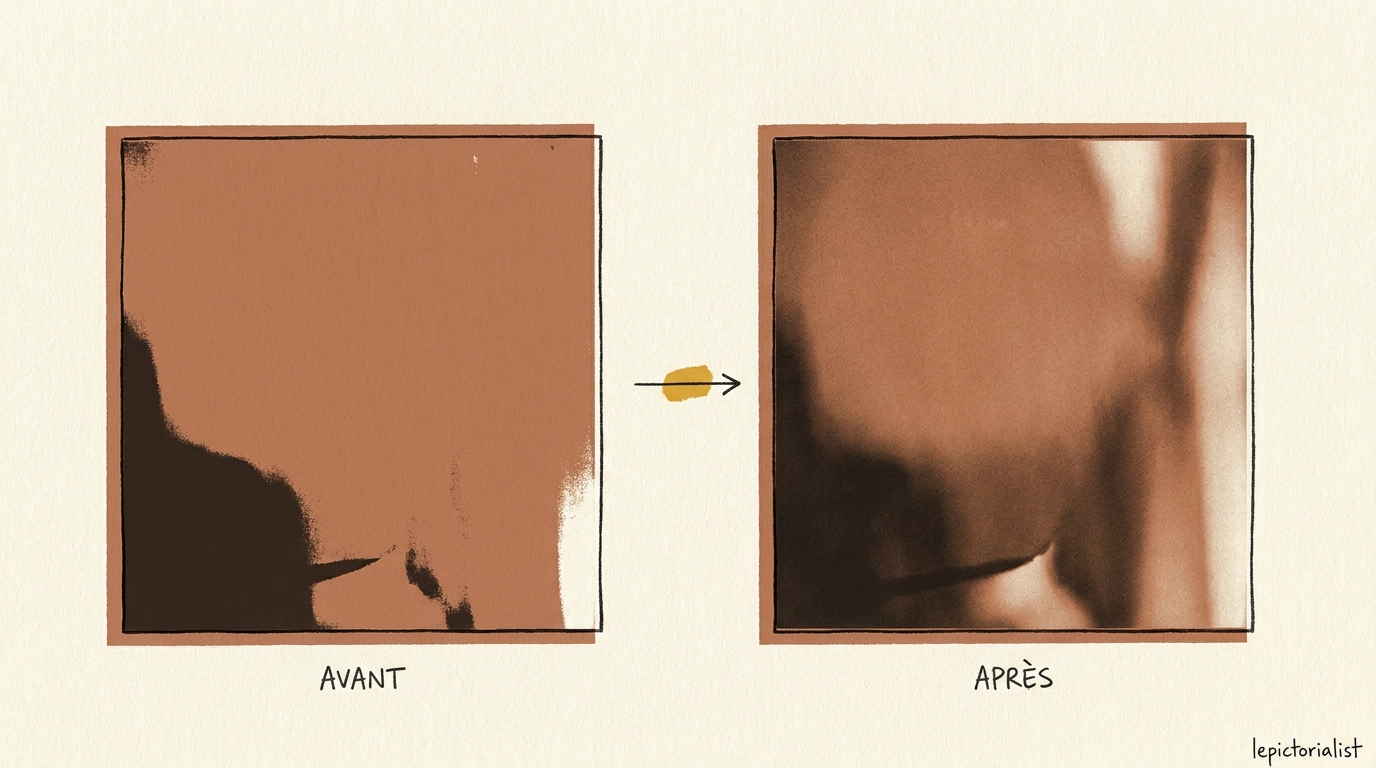
The difference on a Van Dyke print
The same source file, printed without calibration on the left and calibrated with Calibration Flow on the right. You can see how calibration frees the full tonal range of your Van Dyke process.
Spécificités du procédé
Silver purple-brown, sensitive to paper and toner.
Van Dyke (sometimes called Van Dyke brown print or simplified kallitype) produces a warm silver purple-brown print by UV reduction of silver nitrate by ferric ammonium citrate. It is a silver process in the strict sense, unlike cyanotype (pure iron) or platinum/palladium (noble metal).
The typical Dmax is 1.5 to 1.7 depending on paper and the citrate / silver ratio. The process is very sensitive to paper acidity: a buffered alkaline paper (Canson Montval for example) destabilises ferric citrate on contact with its carbonate reserve, and the print loses density in the wash. Neutral or slightly acidic papers (Hahnemühle Platinum Rag, Arches 300 g, Bergger COT 320) remain the reference.
Toning changes the curve. A Van Dyke print can be gold-toned (shift to cool purple-brown, Dmax +0.15 to +0.2), selenium-toned (contrast gain, Dmax +0.1 to +0.2), or left raw (warm brown). At each systematic toning, recalibrate — the `.acv` curve to apply to the negative is not the same whether you tone or not. Calibration Flow keeps the linked curves in a single preset library.
Double exposure (long exposure + partial development + short second exposure) is an advanced technique that raises the Dmax by 0.15 to 0.25. If you practise it systematically, calibrate on it.
Target polarity: negative, like all contact-exposure processes.
Lire en détail dans le manuel
Référence externe : Wikipedia
Generate your Van Dyke target now
25-patch target (5×5 grid + continuous gradient), equal steps of about 4.2 % in grey value, from white to black. Negative polarity (matches this process). Download, print on inkjet transparency with colour management off, expose onto your sensitised paper.
Downloaded file at 1680×1410 px (300 dpi), free, no sign-up. In the app, a 25-step grey grid and its gradient print straight onto a corner of your negative (Target → Show the target tab) and get the same curve as the image.
Target computed like the app’s: evenly spaced grey steps and a continuous gradient. On a scan, the app reads each step as perceptual lightness, L* (CIELAB).
Workflow en 3 étapes
Mire, insolation, courbe.
Print the 25-patch negative target
Negative polarity, no colour management. Print on the production paper (Hahnemühle Platinum Rag preferred for the test).
Sensitise, expose, fix, tone (optional)
Ferric citrate + silver nitrate sensitiser. Contact UV exposure, thiosulfate fixing, washing, optional gold or selenium toning.
Export the .acv curve for Photoshop or Affinity (Pro Mode)
One curve per mode (untoned, gold-toned, selenium-toned if needed). Calibration Flow groups the linked curves in the same project. .acv export is reserved for Pro mode (€9.90/month).
Adjust the curve live
Calibration Flow corrects any non-linear response with three sliders. No point to draw with the mouse, no Bézier handle to wrangle. Play with the values below and see the effect on the curve and on the Van Dyke tonal rendering immediately.
Input 0–255 ↔ Output 0–255
Minimum input threshold. Everything below it becomes pure black.
Maximum input threshold. Everything above it becomes pure white.
Midtone curvature. 1.00 = linear, < 1 = darker mid-tones, > 1 = lighter mid-tones.
Source gradient (before correction)
Corrected gradient (after applying the curve)
This demo applies a simple formula (black/white points + gamma exponent) for illustration. The app additionally uses a robust LOWESS + monotone PCHIP smoothing pass that rounds off transitions without creating artefacts. The Mode Pro (€9.90/month) then lets you export a .acv file, loadable into Photoshop or Affinity Photo in two clicks.
Preuve d'autorité
Pourquoi nous faire confiance.
« Van Dyke is the process that teaches you to calibrate in two stages: before toning, after toning. Without that double pass, you print a "before" — and discover the "after" as a surprise. That is exactly what Calibration Flow teaches you to anticipate. »
Références techniques
- Christopher James — The Book of Alternative Processes (chapter 14 on Van Dyke and kallitype)
- Dick Stevens — Making Kallitypes and Platinotypes (practitioner reference)
- Bostick & Sullivan — ferric citrate chemistry
Signé
- Tristan Sidem — founder of Calibration Flow + Vision Picturale
- Raphaël Lebas de Lacour — co-founder of Vision Picturale
Access & pricing
Try Calibration Flow.
Web
Free with account
- 3 curves, unlimited presets, 10 HD scans, 300 MB storage
- No credit card required
Pro · Web + iOS
€9.90/month
- .acv export for Photoshop/Lightroom
- HD Full Gamut export (5-7 inks) & advanced separation settings
- 100 HD scans, 5 GB cloud storage
- One subscription for Web + iOS, cancel anytime
Code Luminograph
1 year of Pro included
- Shipped with the purchase of a Luminograph at Vision Picturale
- One year of Pro mode, then reverts to free
- Extended quotas and 5 GB of cloud storage
Comparatif honnête
Calibration Flow face aux alternatives.
| Dimension | Calibration Flow | QuadToneRIP | PiezoDN | Méthode manuelle |
|---|---|---|---|---|
| Toning management | 2 linked curves | Manual | Manual | None |
| Learning curve | ~15 min | ~2 days | ~1 week | Variable |
| Entry price | €0 (free) | ~$50 | ~$300 | ~€400 |
| .acv output | Native (Pro mode) | No | No | To be drawn |
| Mobile | ✓ | — | — | — |
Quand choisir un autre outil
QTR keeps an edge for a K7 workflow with a dedicated printer and a single paper. CF stays relevant when the process needs two linked curves (before and after toning) — a case where mobile reading and the preset library make the difference.
FAQ
Questions from Van Dyke practitioners.
- Yes, appreciably. A raw Van Dyke leans towards warm brown (Dmax ~1.5). Gold-toned, it shifts to a cool purple-brown with a Dmax rising to ~1.7. Selenium-toned, it gains a more contrasty grain, with a Dmax that can reach 1.75. The practitioner rule: calibrate the untoned print for your standard production, then recalibrate a second `.acv` curve (Mode Pro export) if you tone systematically. Calibration Flow keeps both curves in the same project for quick switching.
- Van Dyke uses a ferric ammonium citrate + silver nitrate sensitiser. On a buffered alkaline paper, the ferric citrate destabilises in contact with the carbonate reserve, and the image loses density in the wash. Recommended papers have a pH between 5.5 and 7: Hahnemühle Platinum Rag (excellent), Arches Aquarelle 300 g (good), Bergger COT 320 (very good). Avoid papers sized with alkaline gelatin.
- Some practitioners expose in two stages: a first long exposure that reveals the full image, then a short second exposure after partial development that densifies the deep shadows. This technique raises the Dmax by ~0.15 to ~0.25, at the cost of a doubled printing time. If you practise double exposure systematically, calibrate on it — the curve will differ from a single exposure. Calibration Flow accepts any exposure cycle: it measures the result, not the method.
- Three well-tested references: Hahnemühle Platinum Rag (neutral pH, long cotton fibre, very clean for Van Dyke), Arches Aquarelle 300 g satin grain (neutral pH, common paper, Dmax 1.55 reached), Bergger COT 320 (dedicated alt-process paper, no whitening agent). To avoid: Canson Montval (too buffered), Rives BFK (variable batch to batch for Van Dyke). Maison Picturale keeps a validated selection for this process.
- No. Van Dyke specifically uses ferric ammonium citrate, which reacts with silver nitrate to produce purple-brown metallic silver. Platinum/palladium uses ferric oxalate (sometimes iron citrate for the nearby kallitype) which in turn reduces platinum or palladium. The two sensitisers are neither interchangeable nor mixable — they are two distinct chemistries for two distinct processes.
Van Dyke Brown is not in the Vision Picturale range.
The Picturale ecosystem covers six UV-exposure processes — cyanotype, gum bichromate, carbon, bromoil, gumoil, resinotype (carbon is still in development at Vision Picturale, not yet sold). Van Dyke stays outside it. Calibration Flow calibrates it anyway, independently of your chemistry or paper supplier. You import your scanned target like for any alt-process, export your .acv curve (Pro mode), and apply it in Photoshop before your print.
A few references if you are starting Van Dyke:
- Chemistry — Bostick & Sullivan and Photographers' Formulary offer ferric ammonium citrate + silver nitrate + thiosulfate fixer kits, measured to the gram. Freestyle Photo (US) also resells ready kits.
- Paper — Arches Platine, Hahnemühle Platinum Rag, Bergger Cot 320. Prefer slightly acidic to neutral papers — an alkaline paper attacks the silver image in the wash.
- Toning — gold bath (sodium gold chloride) for stabilisation and deep purple toning, or selenium bath for warmer tones. Toning changes your curve — recalibrate after a toner change.
- Reading — Christopher James, The Book of Alternative Process Photography, the Van Dyke / Kallitype / argyrotype chapter.
- See a reference print — Maison Picturale prints in Van Dyke in its Paris workshop, with or without toning. Useful to compare your calibration print against a workshop reference.
- Calibration — open Calibration Flow, follow the step-by-step. Target print, scan, measurement,
.acvcurve (Pro mode) — the same workflow as for a cyanotype, just a different tonal ramp.
Do you also practise a Vision Picturale process in parallel (cyanotype, gum bichromate, carbon…)? See the six ecosystem processes →
Calibrate before toning. And after, too.
Free with registration on the Web version: target, curve and negative included, no credit card required. Pro Mode (€9.90/month) adds .acv export and extended quotas.
Try it free — no credit card