
Process · Gum bichromate
Calibrate your gum bichromate — four negatives, four curves, one flow.
Aquaprint quadricolour, registration marks with an orientation key, `.acv` curves linked per project (Pro mode). The most tonally free process stays calibratable — provided you drive each channel separately.
Reviewed by Tristan Sidem + Raphaël Lebas de Lacour
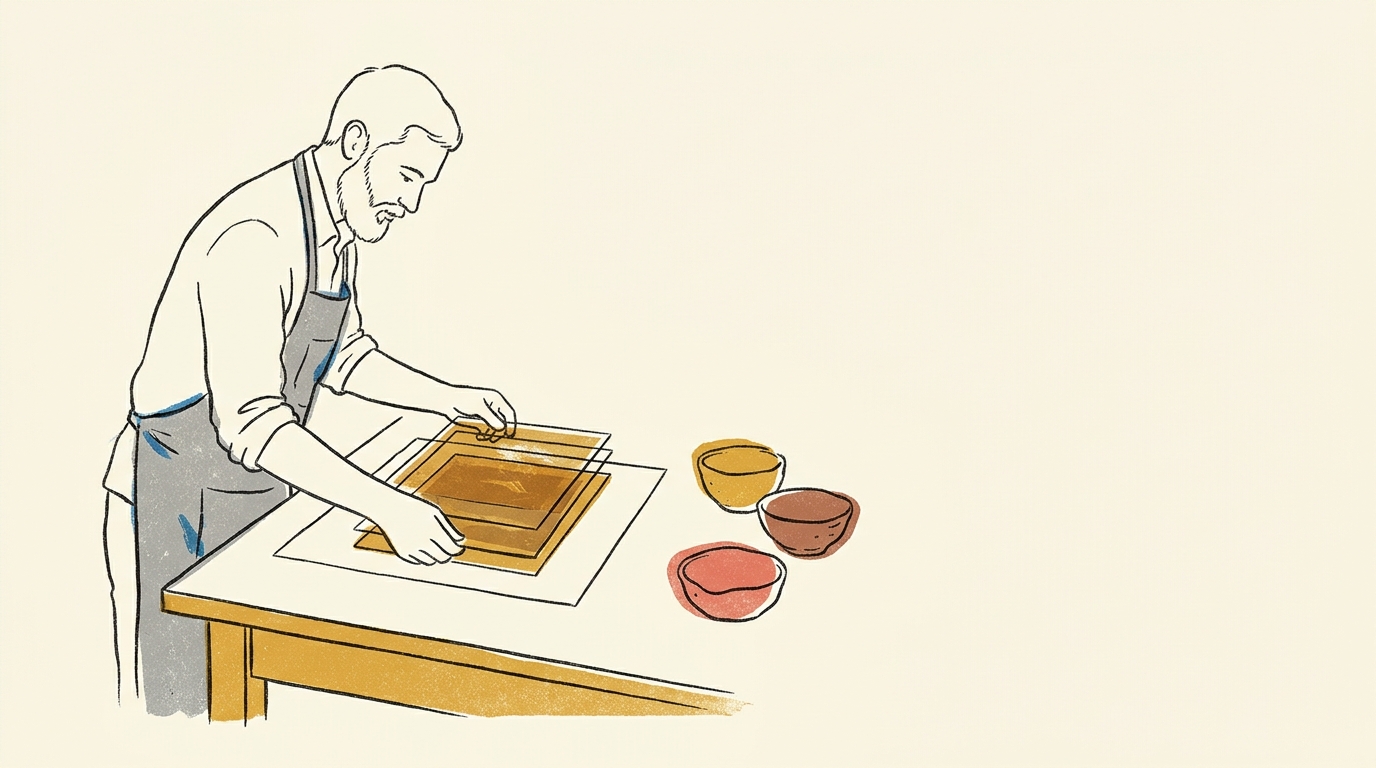
Le problème
Sound familiar?
- 01
Unexpected colour cast
The print consistently leans towards one colour (often magenta or yellow) without you knowing which of the four channels is compensating the others.
- 02
Registration drifting between layers
Visible offsets at the edges after two or three passes. The quadricolour blurs in fine detail.
- 03
Top layer smothering the previous ones
Magenta laid after yellow eats the layer beneath, and the print loses its tonal depth.
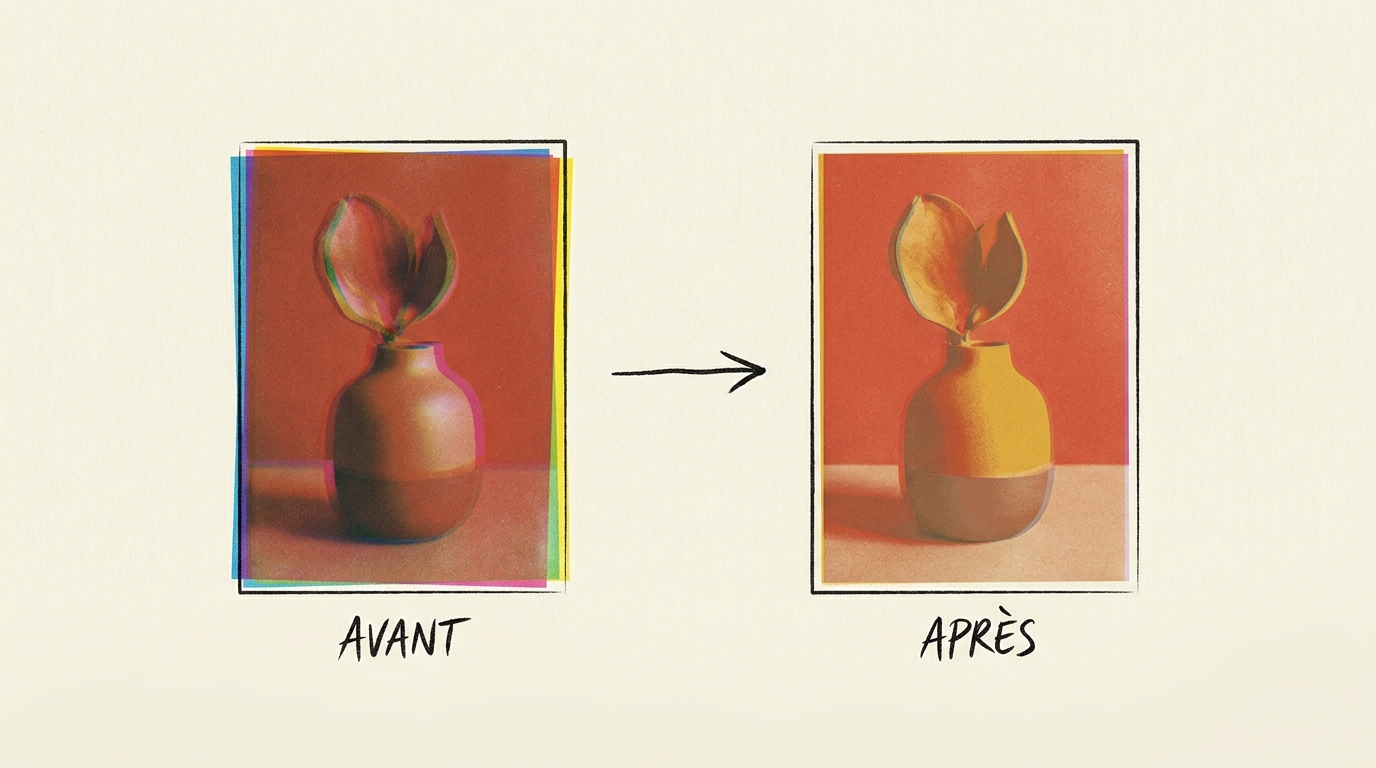
The difference on a gum bichromate print
The same source file, printed without calibration on the left and calibrated with Calibration Flow on the right. You can see how calibration frees the full tonal range of your gum bichromate process.
Spécificités du procédé
Four negatives, four curves, one print.
Gum bichromate — distributed by Vision Picturale under the trade name Aquaprint — is a multi-pass hardening process. Gum arabic mixed with a sensitiser and a pigment hardens under UV; the unexposed areas wash away. Historically the sensitiser was a potassium or ammonium dichromate; VP's Aquaprint pouches use a dichromate-free, non-toxic sensitiser, pre-mixed with the gum arabic and the pigment. To obtain a full colour image, you superimpose four pigmented layers (Yellow, Cyan, Magenta, Black), each from a separate negative.
The canonical order is Y → C → M → K: lay the lightest layer first so it is not masked by the next. Each layer needs its own exposure, development and drying. That is why registration is critical: a misaligned negative produces a coloured halo around the contour of every crisp subject.
Target polarity: negative, like all contact-exposure processes (except resinotype). Calibration Flow prints its registration targets in reserve — a solid pigmented disc with the ring and crosshairs cut out — rather than as traditional crosses, because a fine-line crosshair would barely hold pigment, especially in yellow (the first layer), and become unreadable to realign at the next pass.
The process Dmax is variable depending on the pigments chosen — a dense ivory black can exceed 1.9, an oxide yellow peaks around 1.1. Calibration Flow keeps a library of per-pigment curves so you can switch between setups without recalibrating everything.
Lire en détail dans le manuel
Référence externe : Wikipedia
Generate your gum bichromate target now
25-patch target (5×5 grid + continuous gradient), equal steps of about 4.2 % in grey value, from white to black. Negative polarity (matches this process). Download, print on inkjet transparency with colour management off, expose onto your sensitised paper.
Downloaded file at 1680×1410 px (300 dpi), free, no sign-up. In the app, a 25-step grey grid and its gradient print straight onto a corner of your negative (Target → Show the target tab) and get the same curve as the image.
Target computed like the app’s: evenly spaced grey steps and a continuous gradient. On a scan, the app reads each step as perceptual lightness, L* (CIELAB).
Generate the Color Venn chart for gum bichromate
The Color Venn chart stacks three circles, cyan, magenta and yellow, blended in multiply. Seven zones appear: pure C, pure M, pure Y, CM (blue), CY (green), MY (red) and CMY (composite black). Instead of measuring each pigment on its own, you measure the overlaps directly — what a CMYK (4 layers + composite black) print really is.
Free, no sign-up: the file is computed in your browser, as an A4 PNG at 300 DPI; it never leaves your device.
The 7 zones to measure
- C — pure cyan
- M — pure magenta
- Y — pure yellow
- CM — blue overlap
- CY — green overlap
- MY — red overlap
- K — triple overlap, composite black
Why this chart
If you calibrate each pigment on its own with a grey chart, you learn nothing about the composite black or about drift in the overlaps. The Color Venn tells you in a single chart, so your calibration reflects the final print.
Registration in gum bichromate: four targets and one key
When you print several layers on the same sheet, every negative carries the same marks in the same places: a target in each corner, an orientation key at the top right, and in the margin the density wedge of its own layer. You lay the next negative so that its targets land exactly on the ones already printed. Here the cyan layer is printed and the magenta negative sits on top: shift it or turn it to see what you would see through a loupe.
The whole sheet
✓ Registered: the branches of both targets sit exactly on top of each other.
✓ Both keys overlap at the top right: the negative is the right way round.
- Target
- A ring and eight branches, cut out in white from a solid disc of ink. Solid rather than a thin line: even in yellow, as the first layer printed, it stays visible enough to register the next one. Precision is read where the branches cross.
- Orientation key
- Top right, a ring with a solid dot and no branches. One odd corner is enough: if the sheet is flipped or turned around, the keys no longer land on each other.
- Margin wedge
- One density wedge per layer, in the margin and never on the image, labelled with its letter. The app uses the French initials: C, M, J (yellow), N (black). The wedge gets the same curve as the image, so a scan tells you whether that layer was exposed correctly.
- Where to turn it on
- In the app, Effects sheet → Registration. Turning the marks on widens the margin so they have room.
In gum bichromate, the usual tolerance is 0.1 to 0.3 mm on crisp edges; beyond that, the print loses sharpness where colours meet. Both layers in this demonstration print the same shape, so that the shift is obvious. Full details in the manual.
Workflow en 3 étapes
Mire, insolation, courbe.
Print one negative target per channel
Four 25-patch targets in negative polarity, one per pigmented layer (Y, C, M, K). Each target printed with its pigment, on the same paper as the final print.
Expose and develop each layer separately
Contact UV exposure, lukewarm-water development, flat drying. One L* reading per channel once the gum is dry and stabilised.
Export four linked .acv curves (Pro Mode)
Four Adobe `.acv` files to apply to the four separate negatives in Photoshop or Affinity Photo. Calibration Flow groups them under a single quadricolour project. .acv export is reserved for Pro mode (€9.90/month).
Adjust the curve live
Calibration Flow corrects any non-linear response with three sliders. No point to draw with the mouse, no Bézier handle to wrangle. Play with the values below and see the effect on the curve and on the gum bichromate tonal rendering immediately.
Input 0–255 ↔ Output 0–255
Minimum input threshold. Everything below it becomes pure black.
Maximum input threshold. Everything above it becomes pure white.
Midtone curvature. 1.00 = linear, < 1 = darker mid-tones, > 1 = lighter mid-tones.
Source gradient (before correction)
Corrected gradient (after applying the curve)
This demo applies a simple formula (black/white points + gamma exponent) for illustration. The app additionally uses a robust LOWESS + monotone PCHIP smoothing pass that rounds off transitions without creating artefacts. The Mode Pro (€9.90/month) then lets you export a .acv file, loadable into Photoshop or Affinity Photo in two clicks.
Preuve d'autorité
Pourquoi nous faire confiance.
« Gum bichromate is not a monolithic process: it is four processes stacked. Each layer has its own curve because each pigment has its own UV response. The whole technical difficulty comes down to accepting that principle and calibrating channel by channel — not as a block. »
Références techniques
- Christopher James — The Book of Alternative Processes (chapters 11-12 on monochrome and colour gum bichromate)
- Mark Nelson — PDN method applied to gum
- Bostick & Sullivan — historical US reference (classic dichromate chemistry, to compare with VP's non-toxic, dichromate-free Aquaprint sensitiser)
Signé
- Tristan Sidem — founder of Calibration Flow + Vision Picturale
- Raphaël Lebas de Lacour — co-founder of Vision Picturale
Access & pricing
Try Calibration Flow.
Web
Free with account
- 3 curves, unlimited presets, 10 HD scans, 300 MB storage
- No credit card required
- Ideal for a first quadricolour project
Pro · Web + iOS
€9.90/month
- .acv export for Photoshop/Lightroom
- HD Full Gamut export (5-7 inks) & advanced separation settings
- 100 HD scans, 5 GB cloud storage
- One subscription for Web + iOS, cancel anytime
Code Luminograph
1 year of Pro included
- Shipped with the purchase of a Luminograph at Vision Picturale
- One year of Pro mode, then reverts to free (useful in quadricolour)
- Extended quotas and 5 GB of cloud storage
Comparatif honnête
Calibration Flow face aux alternatives.
| Dimension | Calibration Flow | QuadToneRIP | PiezoDN | Méthode manuelle |
|---|---|---|---|---|
| Multi-channel | 4 channels driven | Monochrome-oriented | Monochrome-oriented | Drawn by hand |
| Learning curve | ~1 h per channel | ~3 days | ~1 week | Variable |
| Entry price | €0 (free) | ~$50 | ~$300 | ~€400 |
| .acv output | Native, 4 files (Pro mode) | No | No | To be drawn |
| Mobile | ✓ | — | — | — |
Quand choisir un autre outil
For monochrome gum (a single pigment, a single layer), QTR remains a standard if you drive a dedicated printer. For pigmented quadricolour with four separate negatives, CF is natively designed for multiple channels.
FAQ
Questions from gum-bichromate practitioners.
- One rule only: calibrate channel by channel, never as a block. You produce four separate negatives (cyan, magenta, yellow, black), each with its own `.acv` curve (Mode Pro export) from a 25-patch target printed with the channel pigment. Calibration Flow handles this flow in series — you load one session per channel, and the app keeps the four curves linked to the same project. Without that separate control you compensate deviations that cancel or amplify at the final print, and the quadricolour becomes unreadable.
- The standard Aquaprint order starts with yellow (the lightest layer, laid on white paper without masking the ones beneath), then cyan, then magenta, and finally black if you use it. This order minimises visible over-pigmentation and lets each layer contribute without covering the previous ones. Reversing it produces a print where heavy pigments smother the lighter underlying layers.
- Three techniques used in practice: registration targets printed in reserve on each negative (an orientation key on one corner; more visible under the print, even in yellow, than traditional fine-line crosses), punched paper on registration bars, or an exposure table with pins. The manual page on registration marks shows, step by step, how to register with the targets. For a beginner in colour gum, the targets and key printed by CF are enough for alignment under 0.3 mm.
- No — Aquaprint is a trade name introduced by Vision Picturale for its range of gum-bichromate kits. The recognised generic term in alt-process remains "gum bichromate" (also gum dichromate). On this page we use both: gum bichromate for SEO and the international convention, Aquaprint for the Vision Picturale product reference.
- Yes, on every substantial change. A mineral pigment (raw sienna, iron oxide) does not have the same optical density as an organic pigment (alizarin, indigo). If you change manufacturer or reference, recalibrate. If you stay on the same hue from the same supplier, the previous curve stays usable. Calibration Flow keeps your curves in a library so you can switch between pigment presets in two clicks.
Écosystème Picturale
Calibration Flow ne travaille pas seul.
Vision Picturale · Kit chimie
Aquaprint Quadricolour Kit
Aquaprint CMYK pouches — pigment, sensitiser and gum arabic pre-mixed, dichromate-free — plus VP N°03 Developer. Non-toxic chemistry.
Voir sur Vision PicturaleMaison Picturale · Papier
Gum bichromate prints
Maison Picturale prints your image in gum bichromate (monochrome or quadricolour) in its Paris workshop. See a reference print before investing in your own chain.
Voir sur Maison PicturaleNOEME · Formation
Pigmented quadricolour module
Structured long-form course: registration, layer order, quality control.
Voir sur NOEME
Four negatives, four curves — one calibrated flow.
Free with registration on the Web version: target, curve and negative included, no credit card required. Pro Mode (€9.90/month) adds .acv export and extended quotas.
Try it free — no credit card